Getting Started with OpenHRApp: A Step-by-Step Setup Guide
Welcome to OpenHRApp! This guide will walk you through every step of setting up your organization, from creating your account to configuring advanced policies. By the end, you will have a fully functional HR management system ready for your team.
The entire setup process takes about 30 to 60 minutes, depending on how many employees you have and how much customization you want. Let's get started.
Step 1: Create Your Organization Account
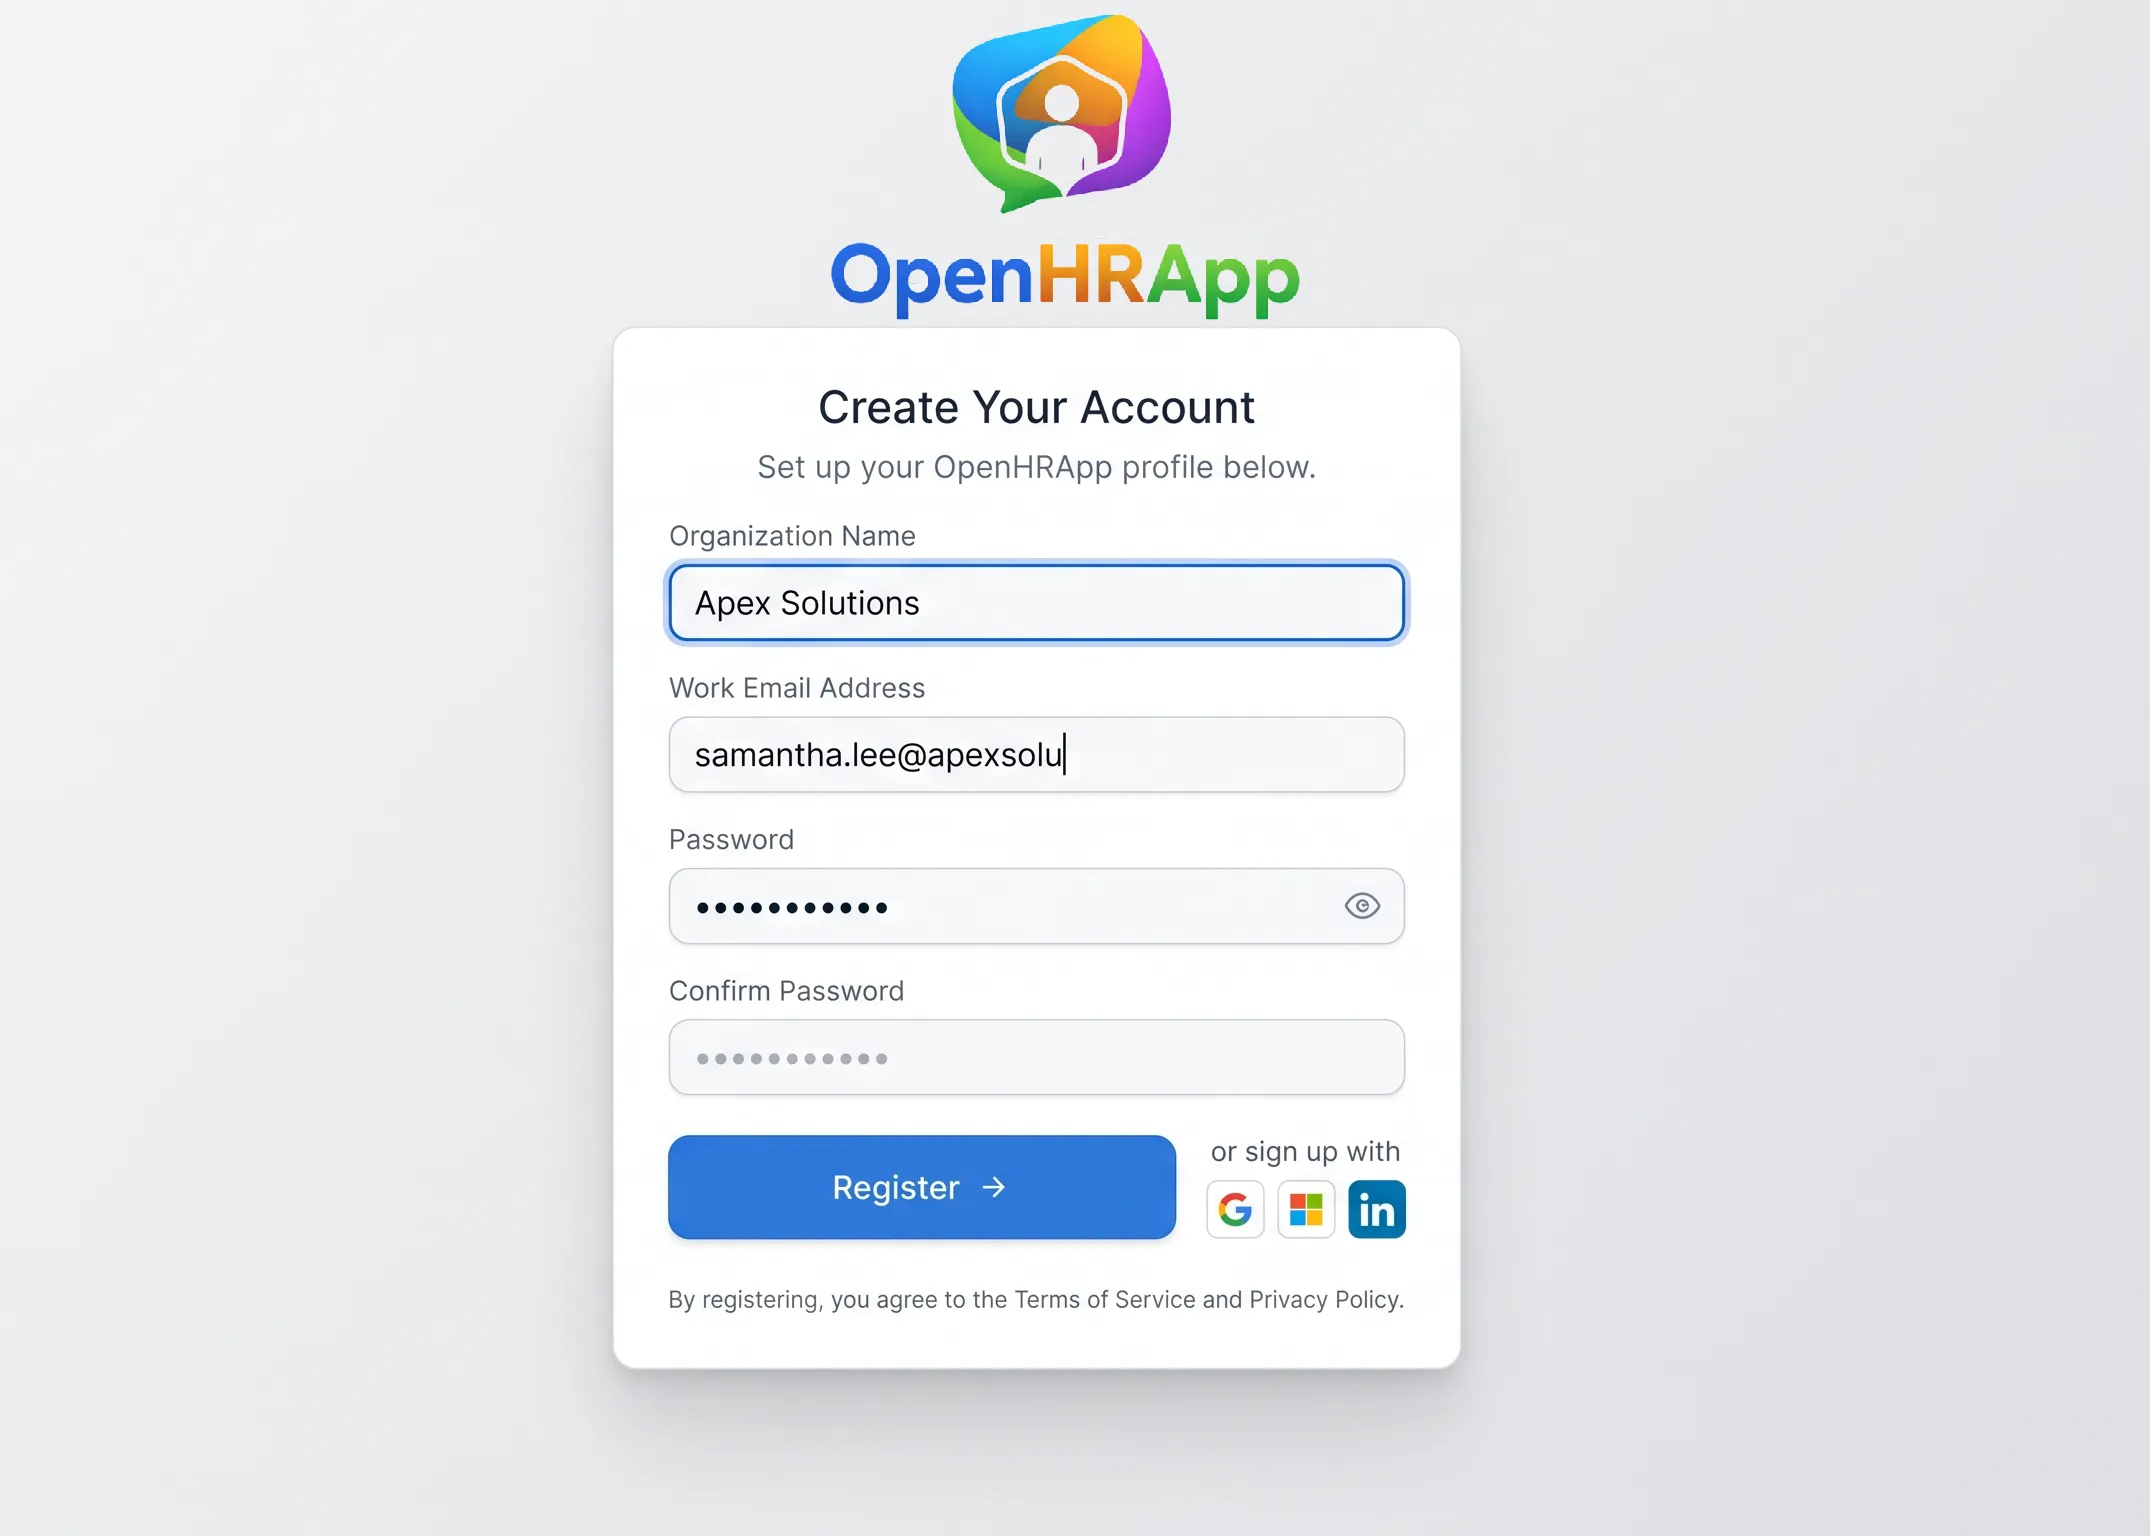
Visit openhrapp.com and click Get Started Free. You will be asked to provide:
- Organization name — This is your company's name as it will appear throughout the app.
- Your name and email — You will be the first administrator for your organization.
- Password — Choose a strong, unique password for your admin account.
After submitting the form, you will receive a verification email. Click the link in the email to verify your account, and you will be logged in automatically.
Tip: Check your spam folder if you do not see the verification email within a few minutes. Add
noreply@openhrapp.comto your contacts to ensure future emails arrive in your inbox.
Step 2: Configure Your Organization Settings
Once logged in, navigate to Organization from the sidebar. This is where you will configure the core settings that define how your HR system operates.
Basic Configuration
Go to the System tab and configure:
- Company Name — Should already be set from registration. You can update it here.
- Timezone — Critical for accurate attendance tracking. Set this to your organization's primary timezone.
- Currency — Used in reports and any future billing features.
- Date Format — Choose the format that matches your region (DD/MM/YYYY, MM/DD/YYYY, etc.).
Working Days & Office Hours
Still in the System tab, scroll down to Working Days:
- Select the days your organization operates. For most offices, this is Monday through Friday. In many Middle Eastern and South Asian countries, the work week runs Sunday through Thursday.
- Set your Office Start Time and Office End Time. These define the standard workday and are used to calculate late arrivals and early departures.
- Configure the Late Grace Period — how many minutes after the start time an employee can check in without being marked late.
- Set the Auto Session Close Time — the time after which any open attendance session is automatically closed. This prevents employees from forgetting to check out.
Holidays
Switch to the Holidays tab and add your organization's holiday calendar:
- Add each holiday with a name, date, and optional type (National, Festival, Religious, etc.).
- Employees will not be marked absent on holidays, and leave applications can account for holiday dates.
- Add all holidays for the current calendar year at minimum. You can always add more later.
Step 3: Set Up Your Organization Structure
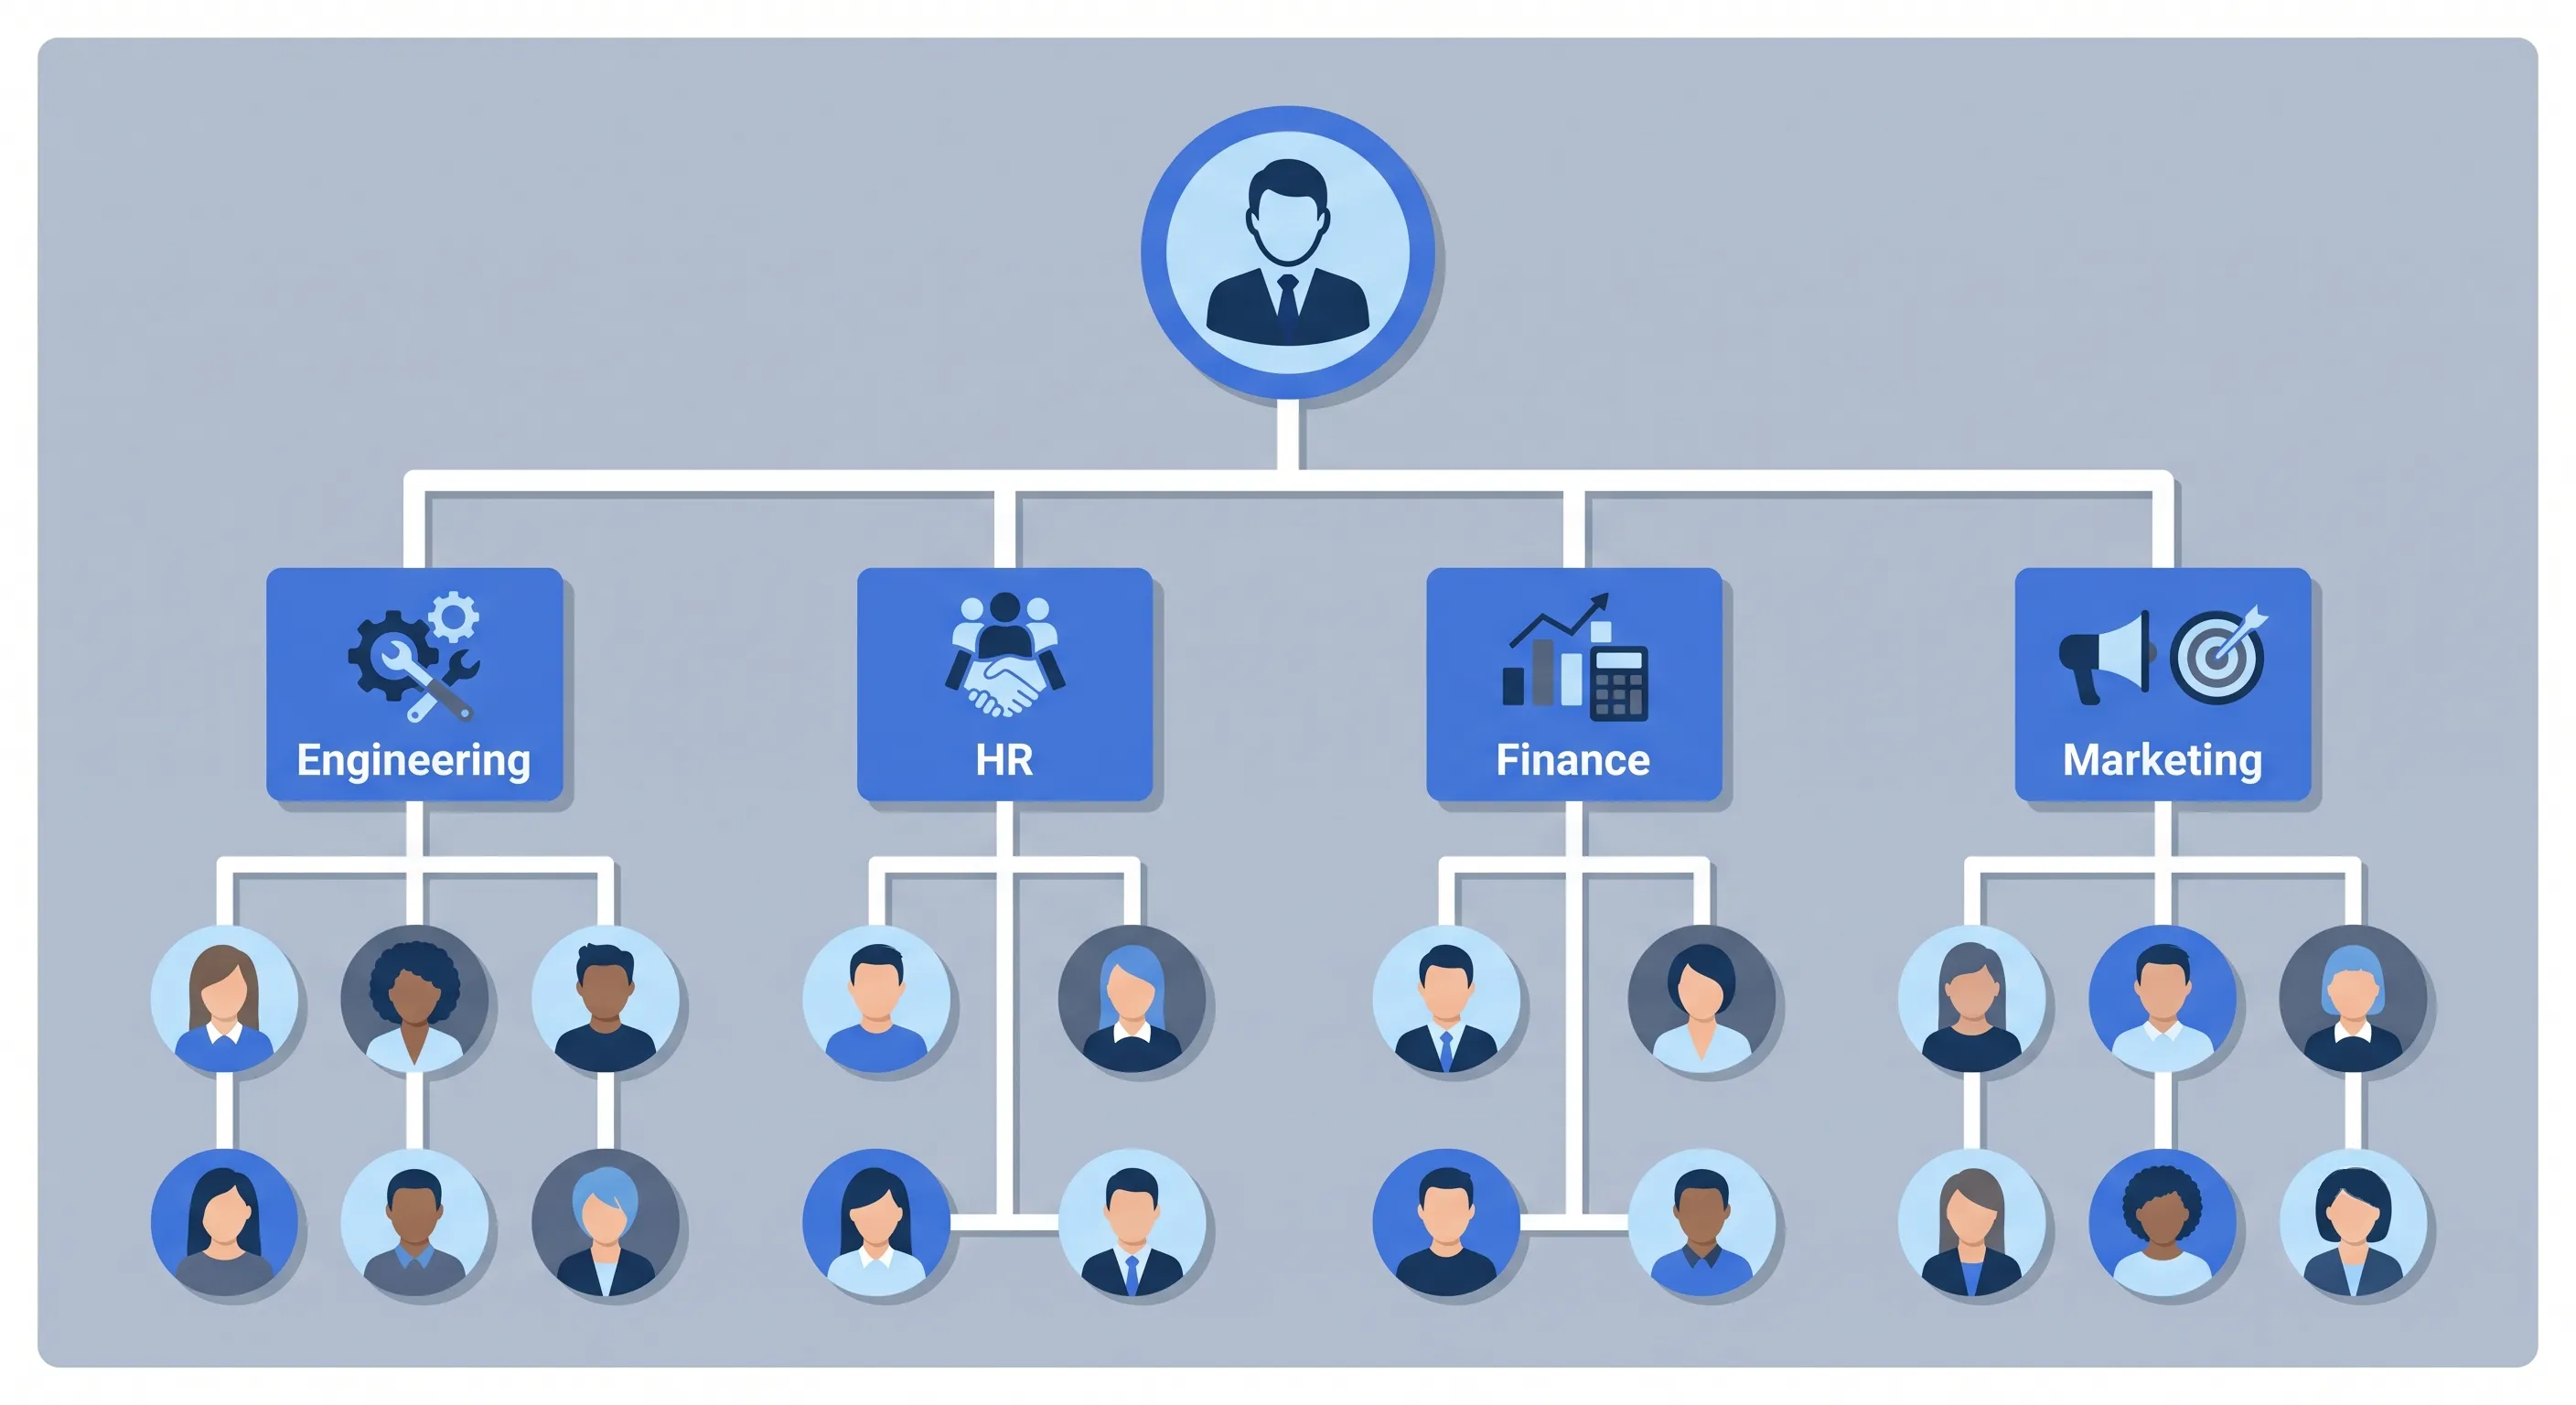
Now switch to the Structure tab. This is where you define how your company is organized.
Departments
Create departments that reflect your actual organizational structure. Common examples include:
- Engineering
- Human Resources
- Finance & Accounting
- Operations
- Marketing
- Sales
- Product Management
You can add, rename, or remove departments at any time. Each employee will be assigned to one department.
Designations (Job Titles)
Add the job titles used in your organization. Examples:
- Chief Executive Officer
- Department Head
- Senior Developer
- Junior Developer
- HR Manager
- Operations Lead
- Marketing Specialist
Designations help categorize employees by role and seniority level.
Teams
Teams represent cross-functional or project-based groups within your organization. Unlike departments (which are structural), teams are flexible groupings. For example, you might have a "Product Launch Team" with members from Engineering, Marketing, and Sales.
Each team can have a Team Leader assigned from your employee list. Team leaders have visibility into their team members' attendance and leave data (depending on their role).
Step 4: Configure Leave Policies
Go to the Leaves tab under Organization.
Leave Types
OpenHR comes with default leave types, but you should customize them to match your organization's policies:
- Annual Leave — Set the yearly allowance per employee (e.g., 20 days).
- Sick Leave — Typically 7–14 days per year, with or without carry-over.
- Casual Leave — Short-notice personal days (usually 5–10 per year).
- Custom Types — Add any additional types like Maternity Leave, Paternity Leave, Earned Leave, or Unpaid Leave.
For each type, you can configure:
- Whether it has a balance (tracked allowance) or is unlimited.
- The default annual allowance.
- Whether unused days carry over to the next year.
Leave Workflows
Switch to the Workflow tab to define how leave requests are approved:
- For each department, choose who approves leave requests: the employee's direct Manager or the HR/Admin team.
- If an employee does not have a manager assigned, requests automatically go to HR/Admin for approval.
- You can also configure whether certain leave types skip the manager approval step entirely.
Employee-Specific Overrides
If certain employees have different leave allowances (e.g., senior staff get 5 extra annual leave days), you can set per-employee overrides in the Leave Policy section. These override the default allowances for the selected leave types.
Step 5: Add Your Employees
Go to Team Directory from the sidebar and start adding employees.
For each employee, you will provide:
- Full Name
- Email Address — This will be their login. They will receive an invitation/welcome email.
- Role — Choose from: Admin, HR, Manager, Team Lead, or Employee. Each role has carefully scoped data access — managers see only their team, employees see only their own data, and HR/Admin have organization-wide access.
- Department — Select from the departments you created earlier.
- Designation — Their job title.
- Line Manager — Who they report to. This determines who approves their leave and reviews their performance.
- Team — Optional team assignment.
- Shift — Which work shift they follow (if you have configured multiple shifts).
- Employment Details — Joining date, employment type (Full-time, Part-time, Contract), and optional salary, mobile number, and emergency contact information.
Bulk Import
If you have many employees to add, you can use the bulk import feature:
- Download the CSV template from the Employee Directory page.
- Fill in your employee data following the template format.
- Upload the completed CSV file.
- Review the imported records and fix any validation errors.
Important: After adding employees, they will receive an email invitation to set up their password and log in. Make sure your email configuration is working correctly before adding a large batch of employees.
Step 6: Review and Test
Before announcing OpenHR to your entire organization, take these final verification steps:
- Log in as a test employee — If you created a test account, log in as that employee and verify they see only what they should see.
- Test attendance check-in — Do a test check-in and check-out. Verify the timestamp, location, and selfie are captured correctly.
- Submit a test leave request — Apply for leave as a test employee, then approve it as the manager. Verify the balance updated correctly.
- Check notifications — Verify that email and in-app notifications are being sent for leave requests, approvals, and attendance alerts.
- Review permissions — Navigate through the app as different roles to confirm access controls are working as expected.
Step 7: Announce to Your Team
Once everything is verified, it is time to roll out OpenHR to your organization:
- Send an announcement email introducing OpenHR, explaining why you chose it, and what employees should do first.
- Share our Complete Guide to OpenHRApp with employees (or create your own short guide).
- Set a go-live date when everyone should start using OpenHR for attendance and leave.
- Offer a brief training session or record a short walkthrough video.
- Make yourself available for questions during the first week.

What's Next?
Now that your organization is set up, explore these next steps:
- Set up Performance Reviews — Configure competencies, rating scales, and your first review cycle.
- Customize Notifications — Adjust which notification types are enabled and how frequently they are sent.
- Configure Shifts — If you operate multiple shifts (e.g., Office and Factory), set up shift definitions with different start/end times.
- Explore Reports — Run attendance summaries, leave utilization reports, and export data for payroll.
- Install the PWA — On mobile devices, install OpenHR as a Progressive Web App for a native app-like experience with offline support.
Further Reading
- Managing Employee Leave with OpenHRApp — Configure leave types, approval workflows, and balance tracking.
- How Selfie-Based Attendance Works in OpenHRApp — Set up shifts, test check-in/check-out, and understand the audit trail.
- A Guide to OpenHRApp's Performance Review Module — Create your first review cycle with custom competencies.
- The Complete Guide to OpenHRApp — A comprehensive walkthrough of every feature, setup, and daily workflow.
Need help? Check out our other guides in the Guides section or reach out to our community on GitHub.